Security of personal information of customers should be a priority for all the online businesses. The loss of customer information like name, contact number, address, credit/debit card details, and other confidential information can lead to several cyberthreats.
To ensure that all the websites are secure, Google is taking a step to mark all the HTTP websites as ‘Not Secure’ from July 2018. This means that the websites which do not have an SSL Certificate installed will show the ‘not secure’ warning. To prevent the warning from being displayed in the website URL, the site owners will have to install an SLL Certificate, even if the website is a simple blog or online brochure site.
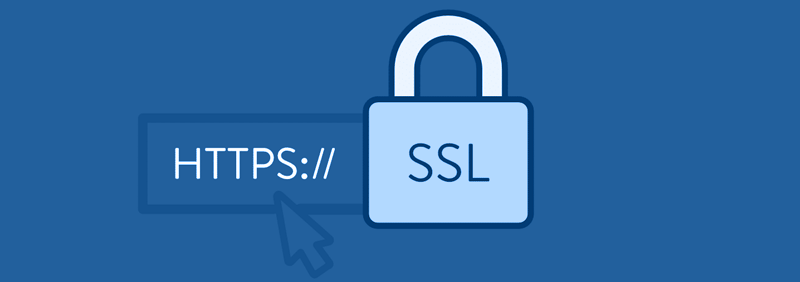
What is HTTPS and SSL?
SSL stands for Secure Sockets Layer. It is a security protocol to create an encrypted and secure connection between a web browser and a web server. To create an SSL connection on a web server, the websites need a certificate, called SSL Certificate.
On the other hand, HTTPS stands for Hyper Text Transfer Protocol Secure (HTTPS). The URL bar in the browsers starts with either HTTPS or HTTP. The websites with an SSL Certificate installed display HTTPS, whereas the websites which are not secured using SSL display HTTP.
SSL and HTTPS allow end-customers to securely submit personal and sensitive information. When the end-customers and visitors see the signs of SSL Certificate installed on your website, they feel confident that you protect their data.
Why do you need an SSL and HTTPS on your site?
The SSL certificates are a must need for every e-commerce site because they process very sensitive customer information, specially the bank details.
The other websites on which visitors submit information via forms to download a report or watch a video or for any other purpose also need SSL because all the users expect the website to keep their information private.
Furthermore, Google ranks those websites higher in search results which have SSL and HTTPS. This means that an SSL Certificate improves the SEO of your website.
How to add SSL and HTTPS to a WordPress site?
Installing the SSL certificate on your WordPress site is an easy and cost-efficient way to protect your customers and visitors, and optimizing the search rankings of web pages.
While installing SSL on other websites can be a little complex, but it is very easy to do so on a WordPress site. Just follow these simple steps to add SSL and HTTPS to WordPress.
1. Purchase an SSL Certificate
The first thing to do is to buy an SSL Certificate from web hosting providers or WordPress hosting providers. Many WordPress hosting providers offer free SSL Certificate with their plans. If the hosting provider doesn’t offer free SSL Certificate, then buy a third-party SSL Certificate.
2. Validate the certificate with server and domain
After purchasing the certificate, generate a Certificate Signing Request (CSR) to validate the server and domain with the SSL Certificate.
For this, you will need to connect to your server via Secure Shell, and then run a console command. Enter the URL and business details, and paste it into the SSL request space.
The process may vary a little depending on the hosting provider, but these are the basic steps.
Suggested Reading: TOP 9 SIMPLE TIPS TO SECURE YOUR WORDPRESS SITE IN TODAY’S ERA OF CYBERTHREATS
3. Update WordPress Settings
Now, visit the WordPress dashboard and navigate to Settings. Open the General Settings and scroll down to the fields labeled WordPress Address and Site Address. Swap out http:// for https//:
If you are adding SSL to an existing WordPress site, then you will have to make some changes to the .htacess file. Copy the below code, and paste it to the .htaccess file in main directory.
<IfModule mod_rewrite.c>
RewriteEngine On
RewriteCond %{SERVER_PORT} 80
RewriteRule ^(.*)$ https://www.yoursite.com/$1 [R,L]
</IfModule>
Don’t forget to replace the “yoursite.com” in the above code with the URL of your website. Save your changes.
The SSL Certificate has been successfully installed to your WordPress site. To make sure that you have followed the steps correctly, open your website from front-end and notice the URL bar if it shows HTTPS.
We hope that you enjoyed this article and found it helpful in adding SSL and HTTPS to your WordPress site.
You might also like reading the Top 6 important tips to speed up your WordPress site.